PNP Timer Job with Azure Web Jobs
3 min readSo, you have moved to the cloud, and law and behold your WSP’s and Timer Jobs won’t work!!!!! And the senior ‘so-called expert’ SharePoint architect wasn’t aware of this…SHOCK, HORROR
In Azure, you need to use the PNP Core Library to implement PNP Timer Jobs and implement logic to run on SharePoint and deploy the Solution in Azure or Windows server to run on a scheduling basis.

In this article, I’ll create a Simple Console APP that will connect to SharePoint List and get the input to create a new Site Collection and update the list item with Site Collection URL and send an email to the Site Owner who requested the site.
 All the code is on GitHub
Steps to Create the Application
· Create a Simple Console Application and give a name as PNPTimer
· Right-click on the Project Folder and Click on the Manage new Get Package Manager.
· Search for “SharePointPnPCoreOnline” If you want to use this for SharePoint on-prem you can add “SharePointPnPCore2013” for 2013 SharePoint on Prem and “SharePointPnPCore2016” for SharePoint 2016 on Prem, “SharePointPnPCore2019” for SharePoint 2019 on Prem. I am going online here.
· Create a new Class file and add Inherit from Abstract base class “TimerJob”.
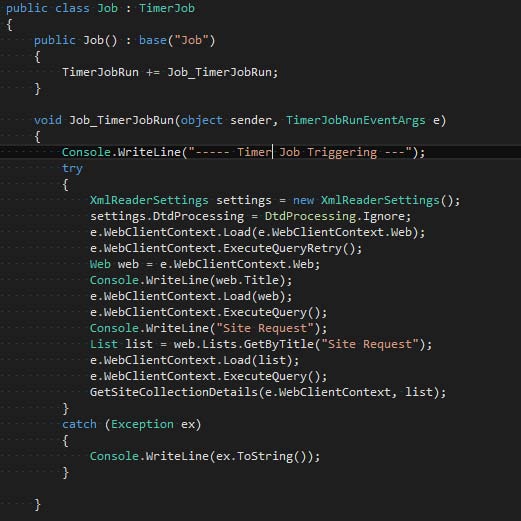
· Connect to SharePoint List and get the Site Owner, Site Collection Template and Status columns from the list where Status is set to Approve.
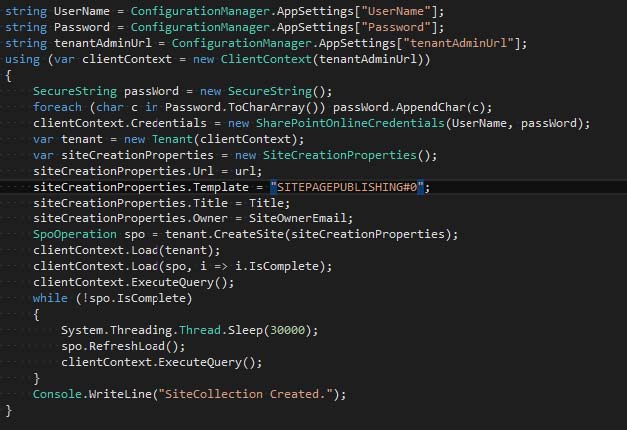
· Check the site collection exists or not before going to create one if the site collection is not existed in Tenant then go ahead and create a new site collection and then update the List with Site collection URL.
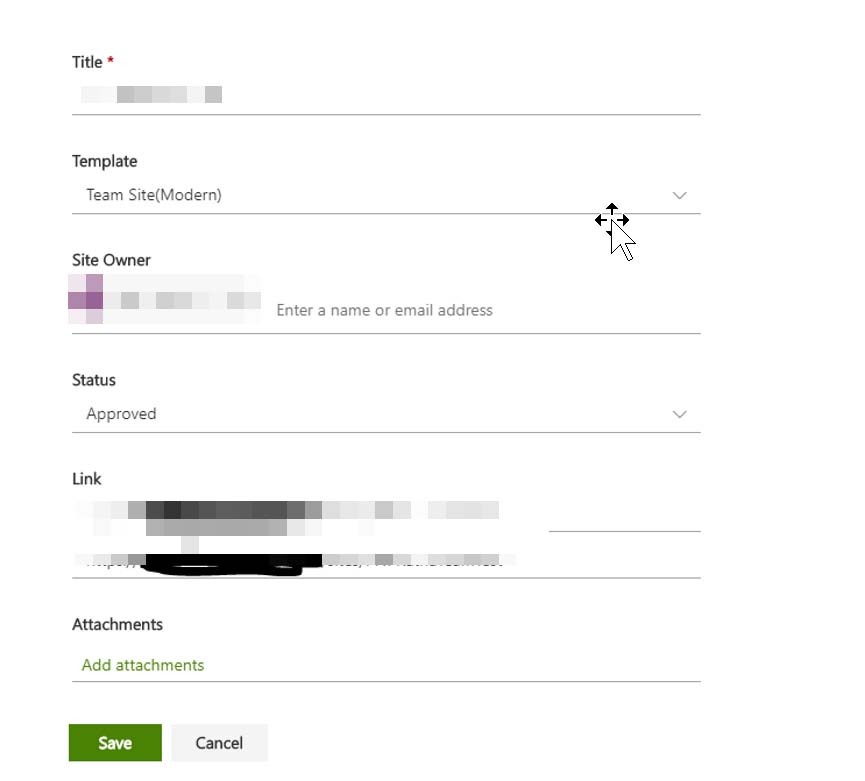
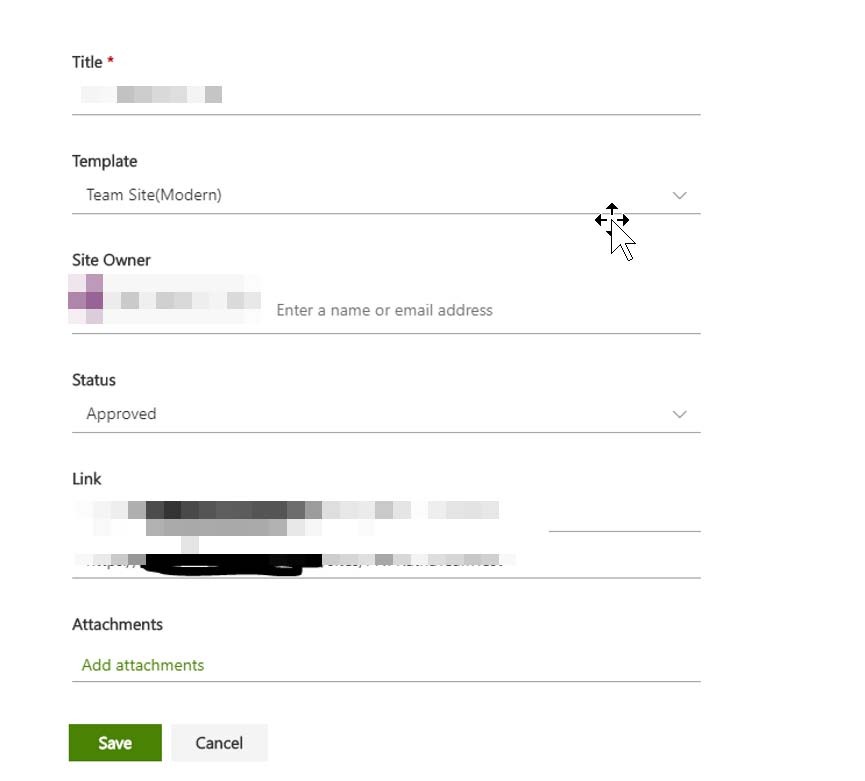
· Once the link is updated in the list, an email notification will be sent out Site Owner as shown below.
Once it is completed, get back to the app, build the solution, and access the Debug folder, which is present in the side of Bin Folder of the project, ZIP the Debug folder to deploy it to Azure.
To deploy this App into Azure Portal please follow the instructions below.
· Make user you have access to one of the app Service in Azure Portal.
· Navigate to the App Service and access web Jobs from Property blade.
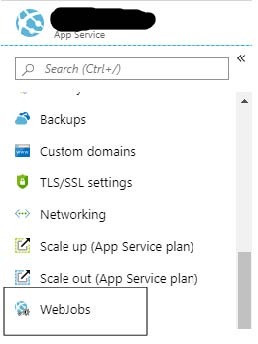
· Click on the Web Jobs adds Give your web job a Name upload the Zip Folder from the above step. Select type as Triggered, Triggers as Scheduled and add your own CRON Expression as you needed. A few CRON Expression is added below.
Expression
0 * * * * *
0 */5 * * * *
0 0 * * * *
0 0 */6 * * *
0 0 8-18 * * *
0 0 0 * * *
0 0 10 * * *
0 0 * * * 1-5
0 0 0 * * 0
*/15 * * * * *
Description
every minute
every 5 minutes
every hour (hourly)
every 6 hours
every hour between 8-1
every day (daily)
every day at 10:00:00
every hour on workdays
every Sunday (weekly)
every 15 second
· Save the job and depends on your CRON Expression it will trigger.
Further Reading:
PnP provisioning engine and the Core library
Azure Functions For SharePoint Operations Using PnP Core CSOM Library


.jpg?width=200&height=103&name=sound-cloud-2%20(1).jpg)


